CARTONNAGE TIPS
GLUING, CUTTING, LINING, FINISHING, WORKSPACE
Whether you're just starting out in cartonnage or refining your technique, a few smart tips can make all the difference. From clean greyboard cuts to smooth book cloth finishes, mastering the basics ensures your projects look polished and hold up over time. I’m sharing some tried-and-true tips for gluing, cutting, lining, finishing & setting up your workspace—perfect for crafting boxes, and other cartonnage pieces. Let’s dive into the little details that make handmade shine.
GLUING

Use PVA glue for cartonnage. If needed, add some water before applying. Cover the glue if you're not using it for a while.
Let your PVA glue dry in the open air if you want to clean the tray. When the glue has dried, you can pull it straight out of the tray to use it again.

Use double-side tape to better secure parts lined with book cloth together. You can easily glue over this tape.
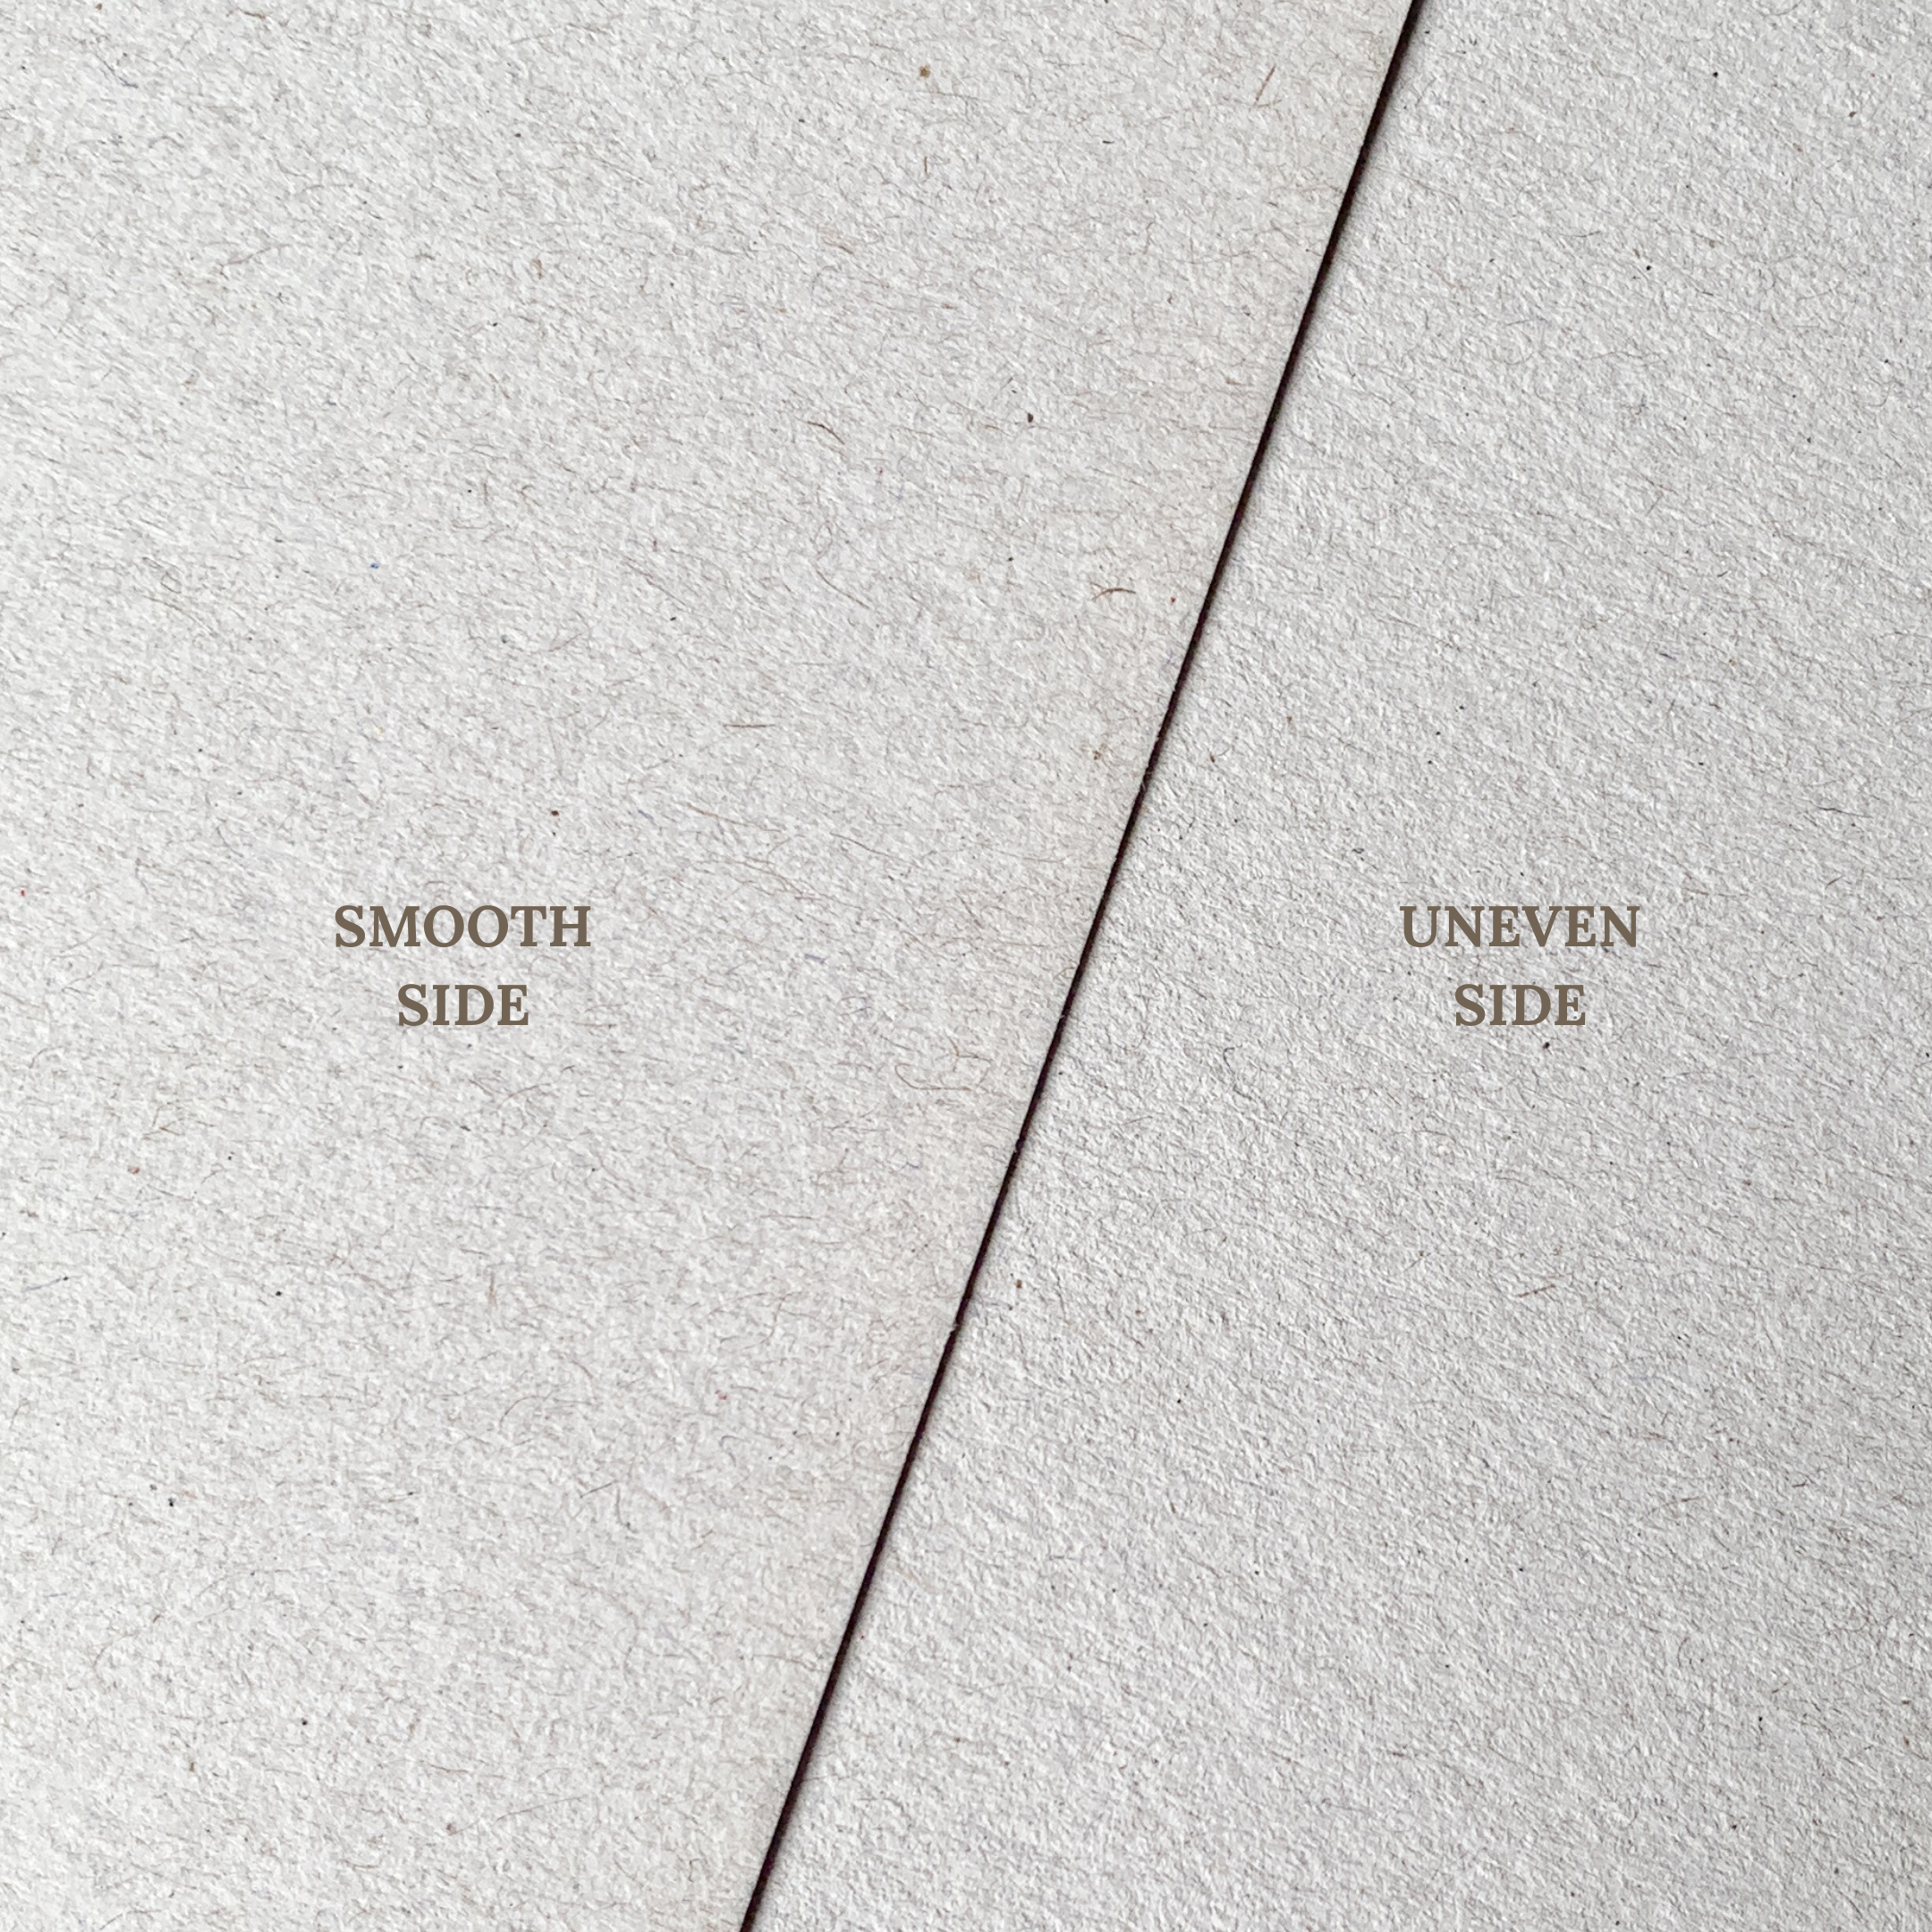
Sometimes greyboard can have a smooth and uneven side. Add glue on the smooth side and place it on the back of your lining to get the best result.
CUTTING

Use a snap-off knife (18 mm) and metal ruler for accurate cuts. When you mark measurements on board, make small pencil lines. The knife blade must not protrude from its sheath by more than 1.0” | 2,5 cm during cutting. The shorter the blade, the steadier the cut.
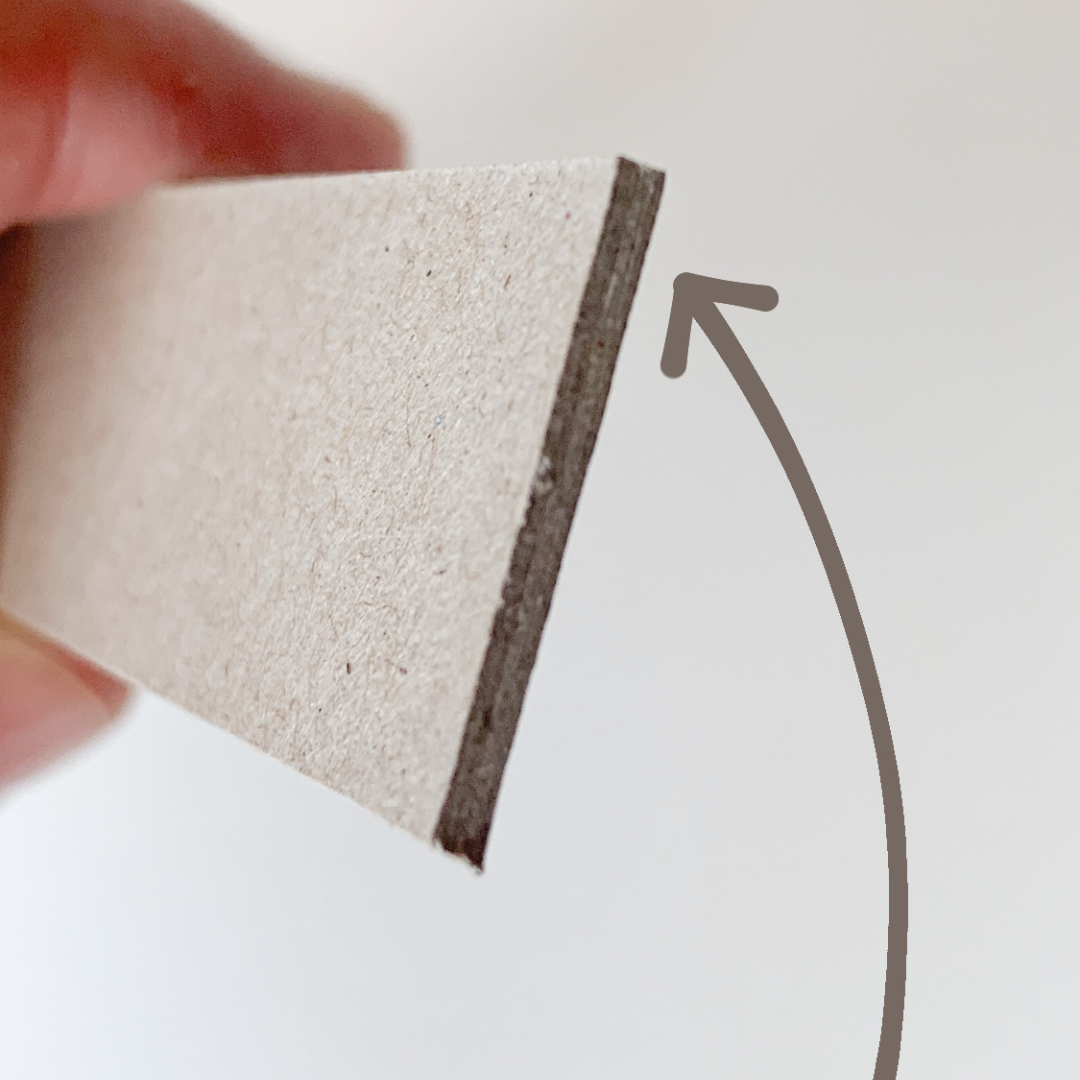
When you cut greyboard by hand, there's always a chance that it's slightly off. Use this side at the bottom or inside of your design. Use the most right-angled side in plain sight.

You can use the Cricut Maker 4 for cutting greyboard. Place your greyboard on a STRONG Cricut mat (purple) and secure it with masking tape; use a KNIFE BLADE for cutting. Choose 1.6 MM BASSWOOD and determine with some testing the number of steps for the greyboard’s thickness. If needed, stop one step early and finish cutting the parts manually with your knife.
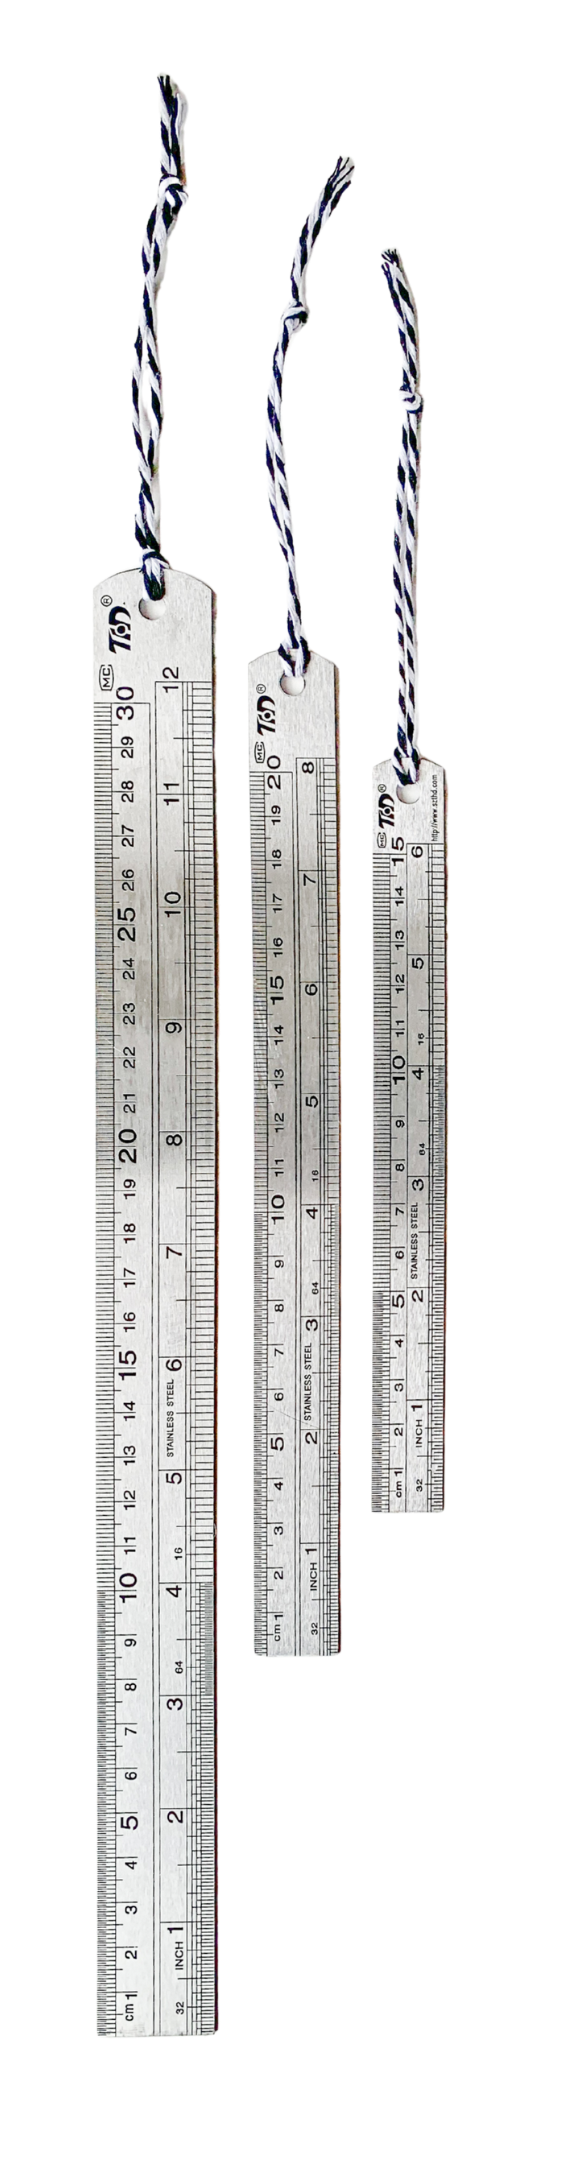
For cutting greyboard & book cloth use metal rulers in different widths and lengths.
Put a string at the end to lift them easily from your work table!
LINING
When you fold over a piece of book cloth, cut away the parts that stick out with your scissors. Be careful not to cut away the lined greyboard!

Always cut the lining AFTER gluing and lining one side of the greyboard. NOT after you've lined all sides of the greyboard! This makes the corner finishes more beautiful.

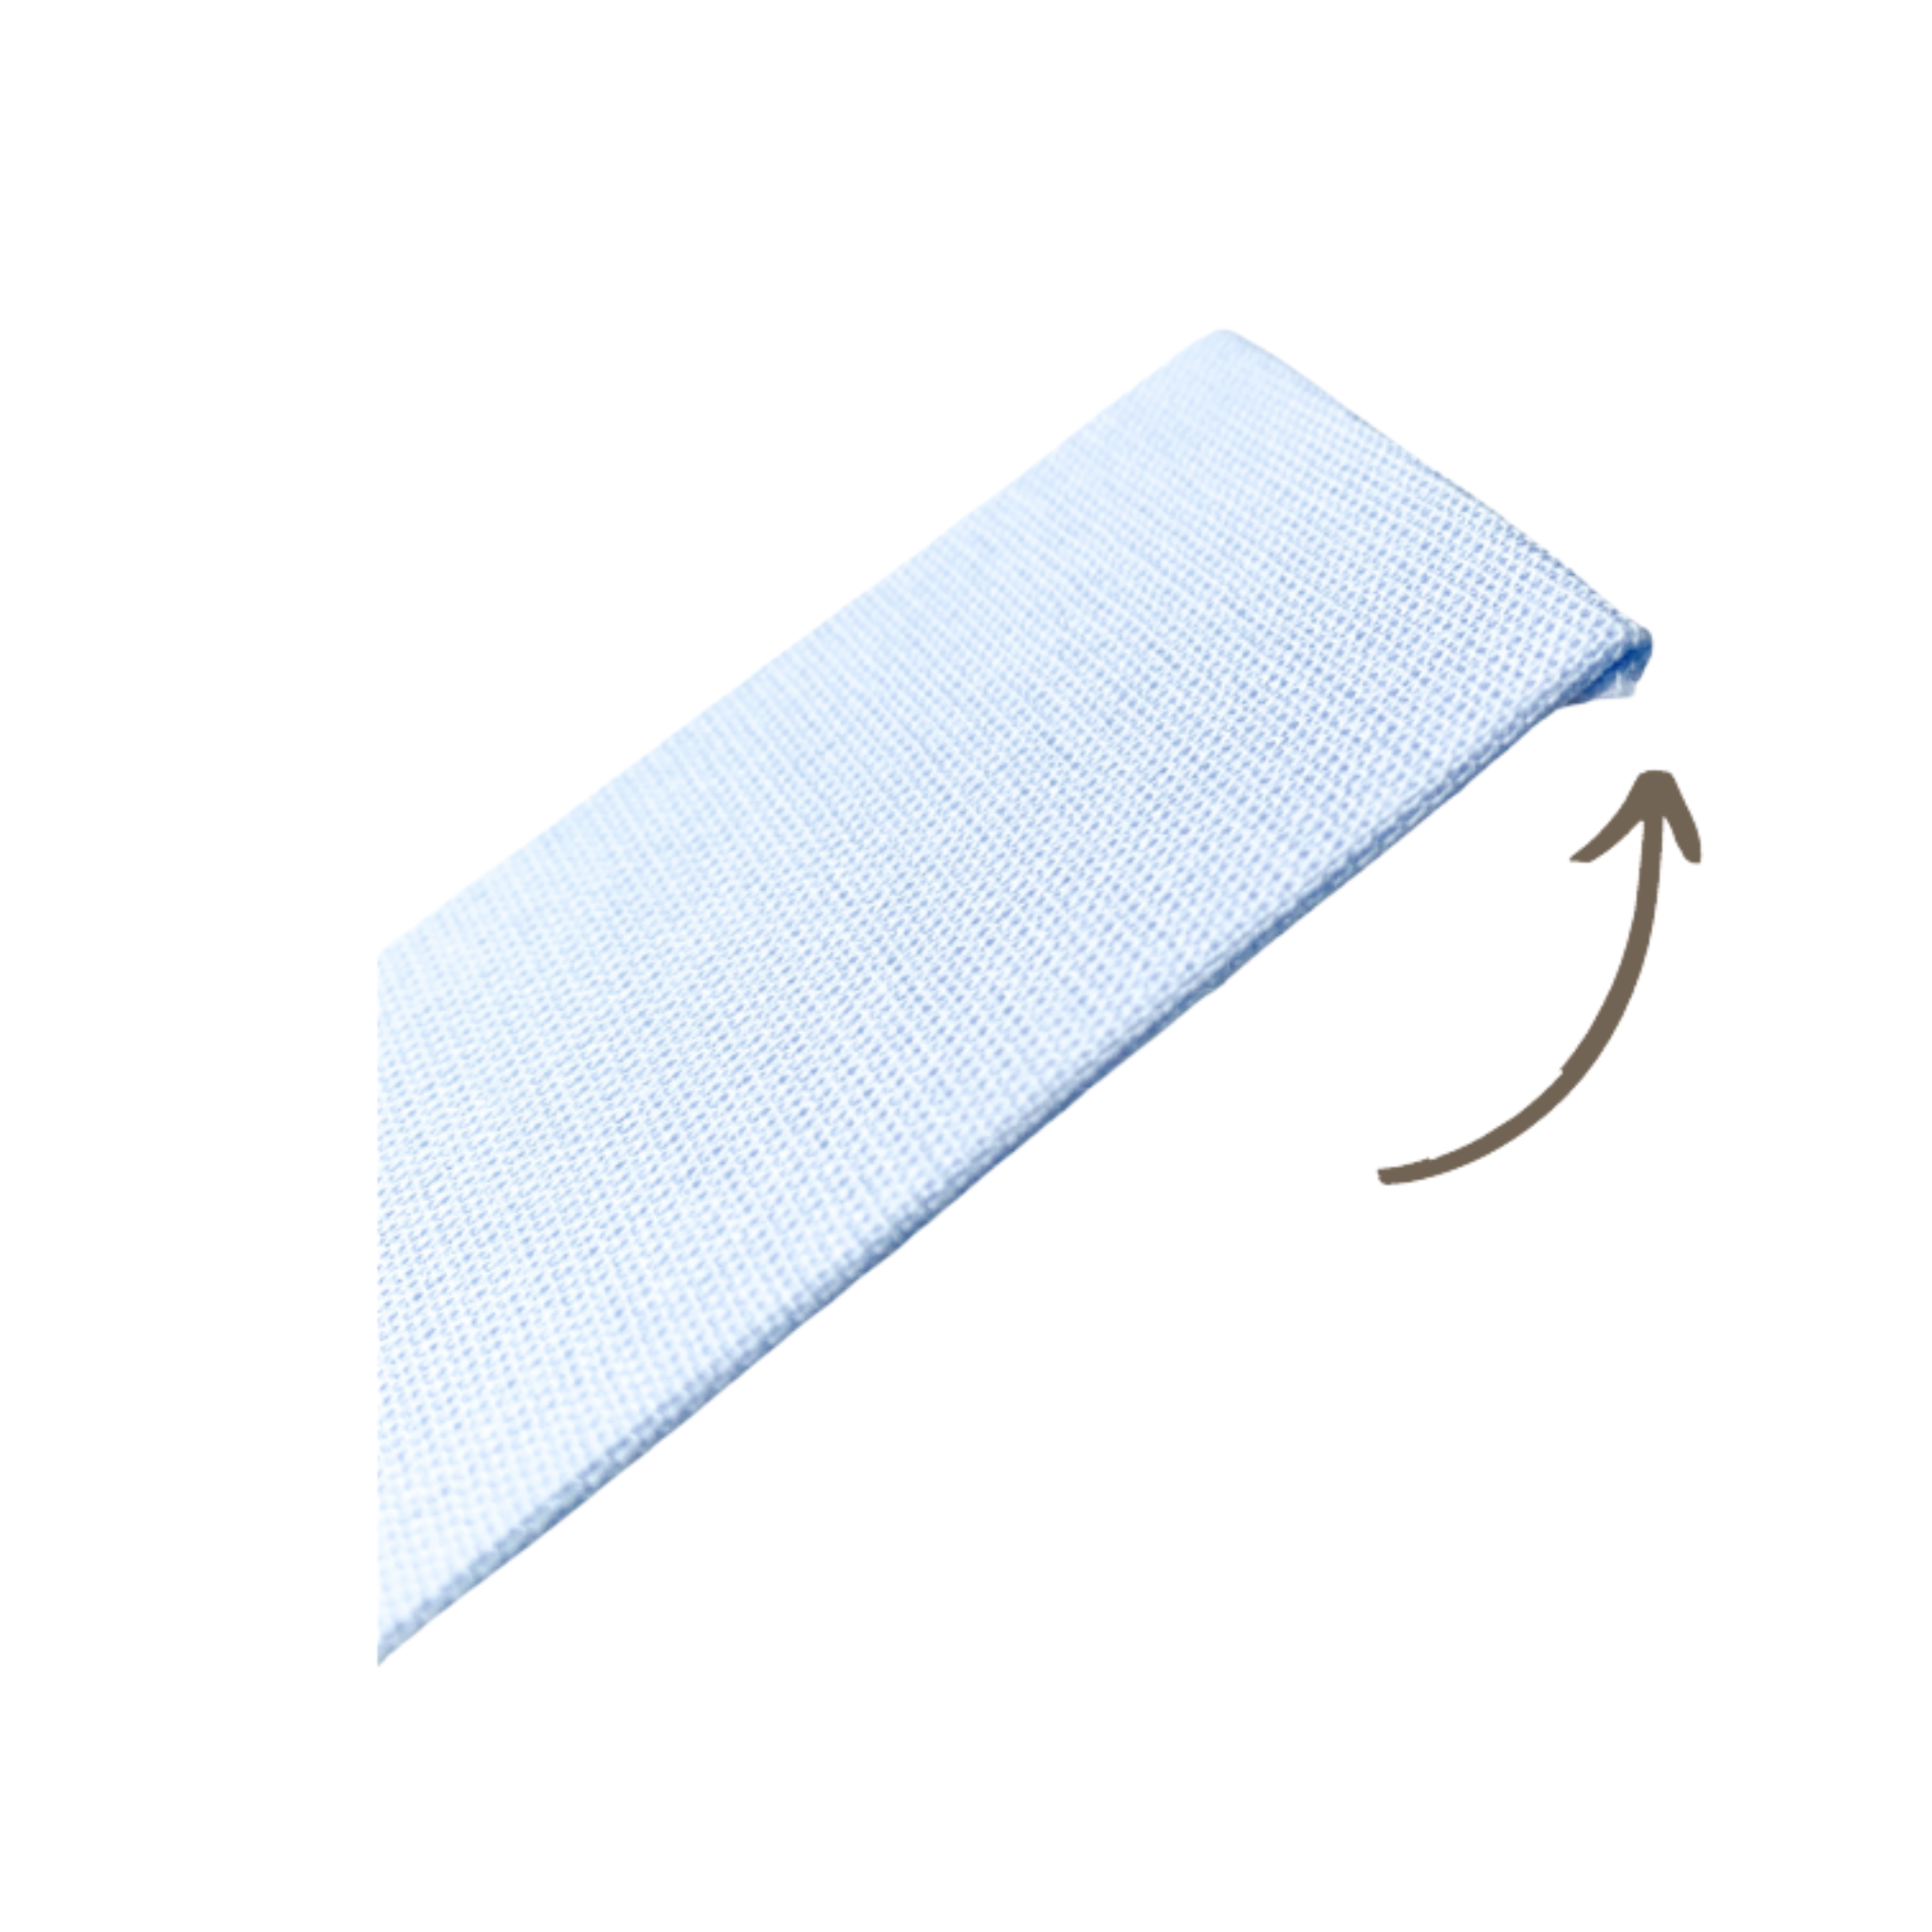
Book cloth tends to curl. To flatten it, grip the ends of a cut piece and run it along the edge of the table (paper side down).

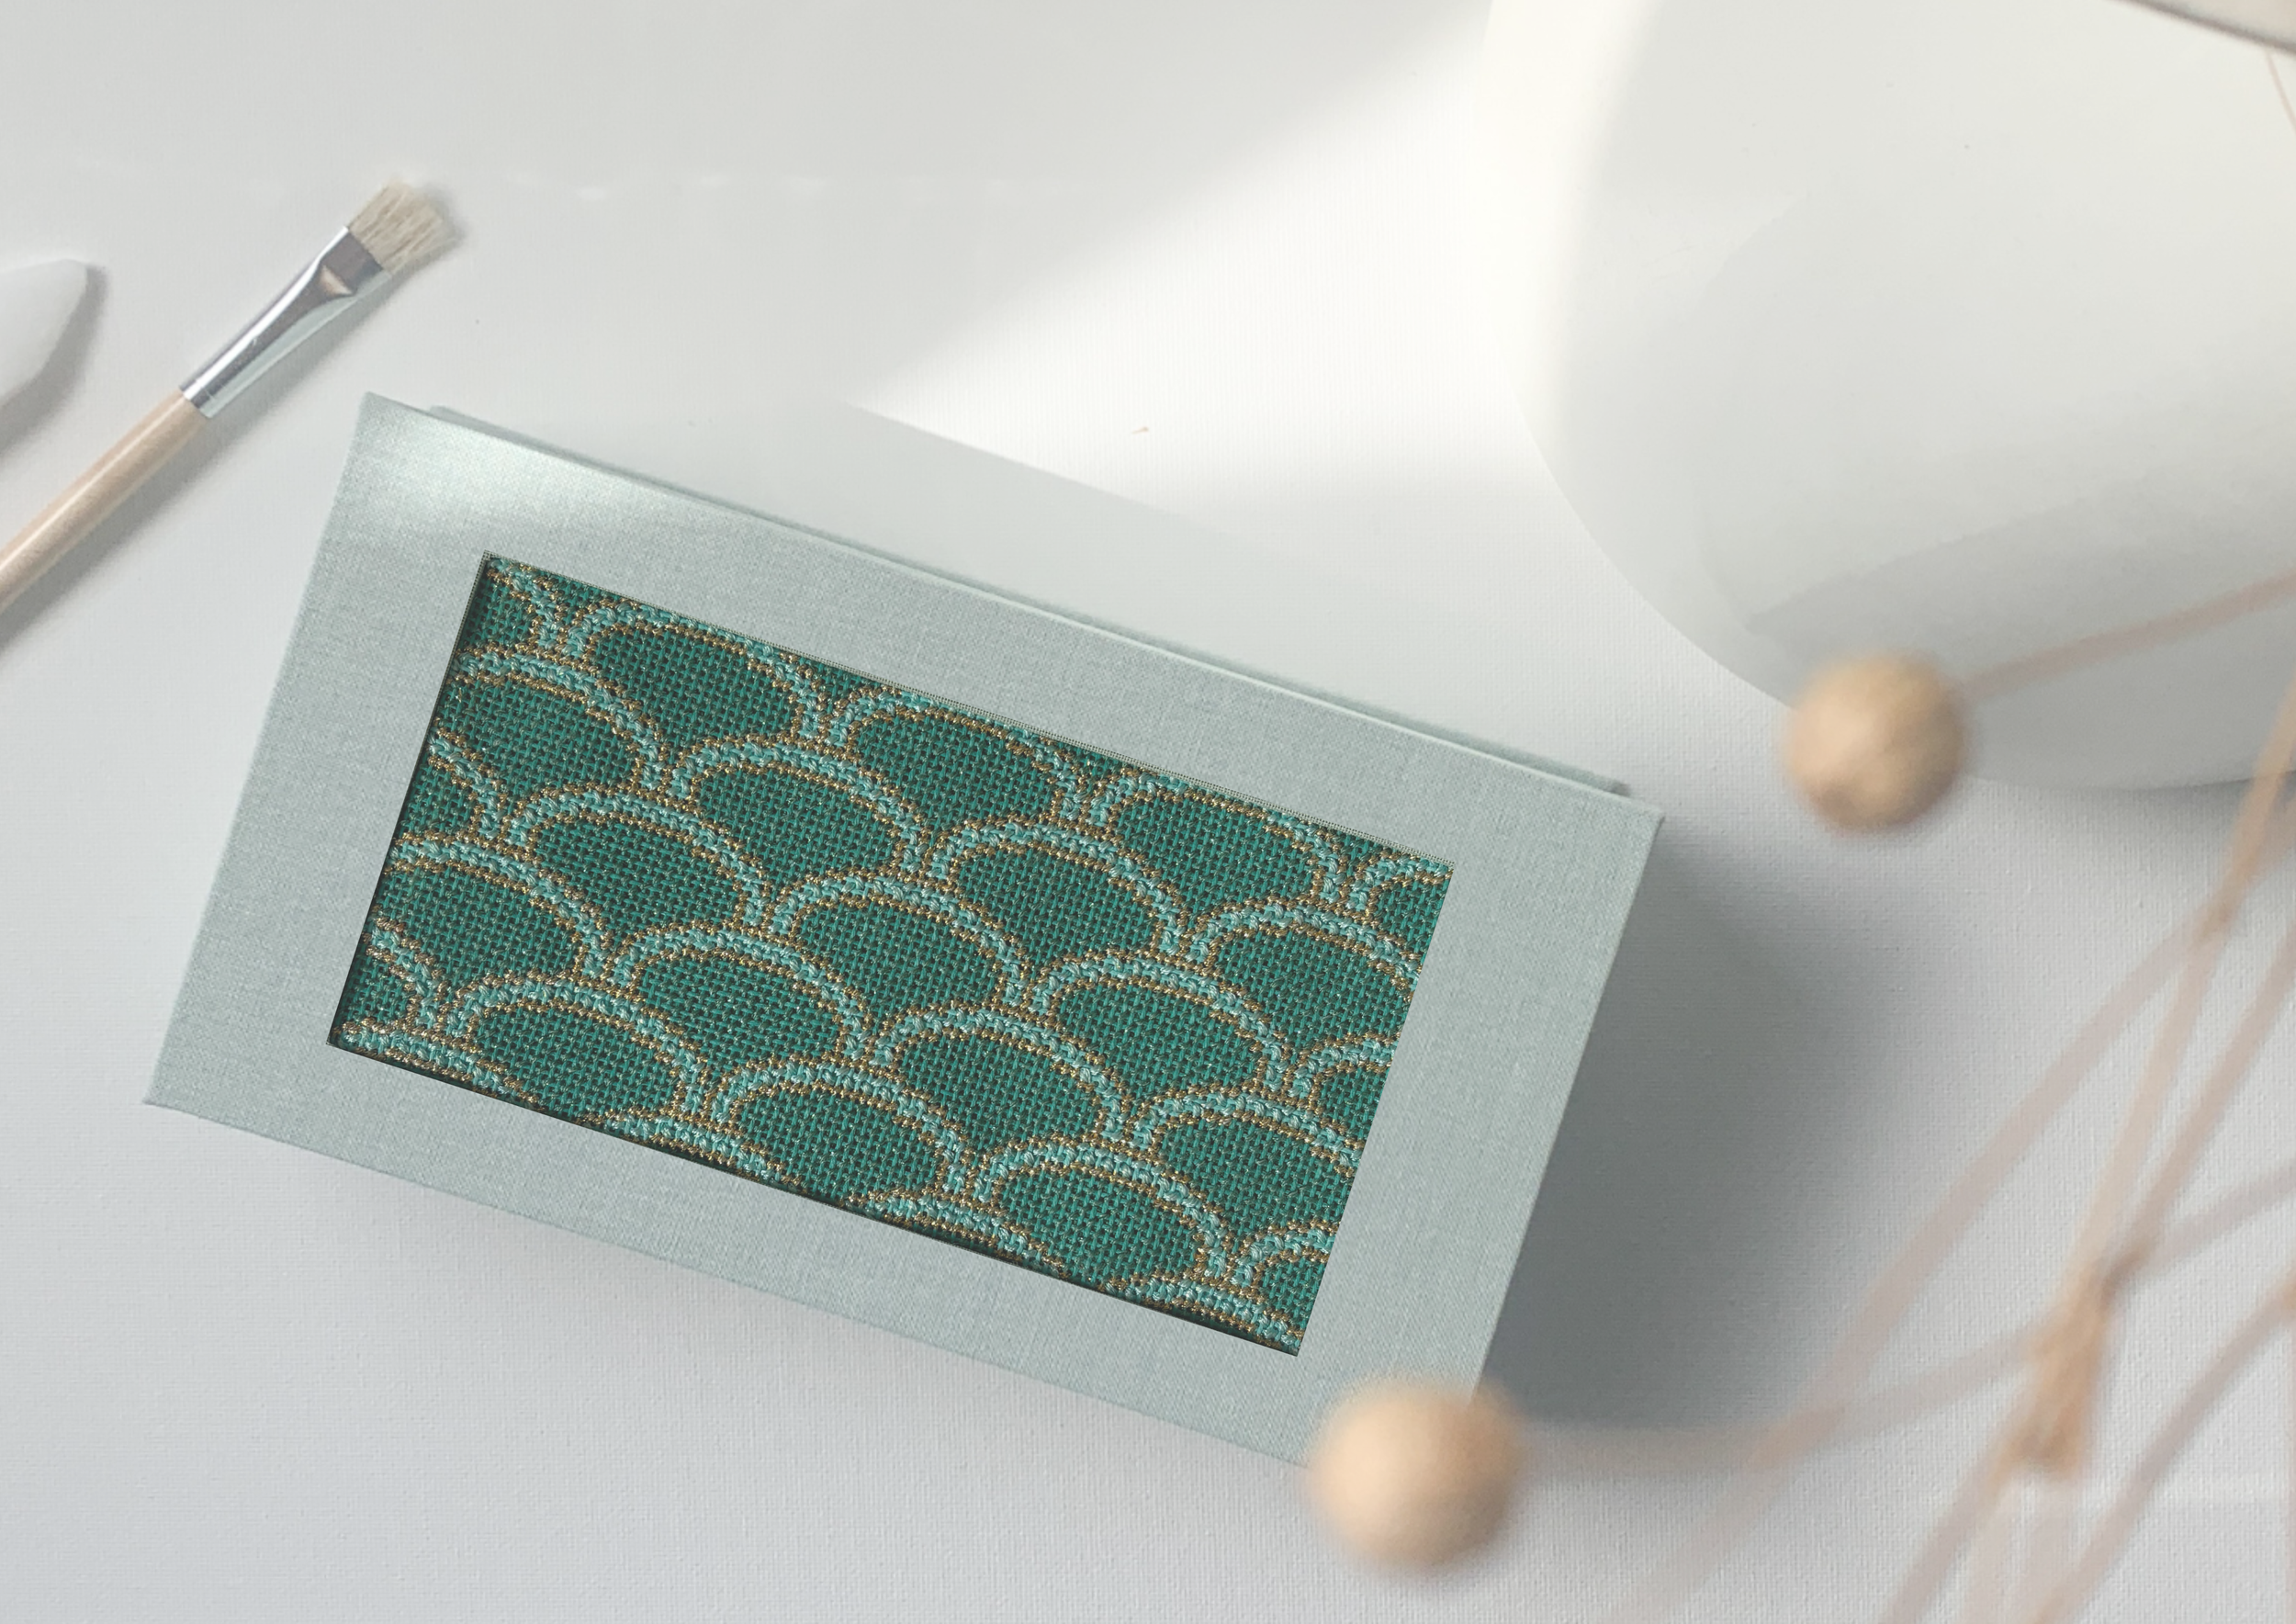
Besides being beautiful, book cloth is used to protect corners. With just paper lining, the corners are weak and the paper can tear. Do you want to use paper? Combine the two like I did with this box.
WORKSPACE

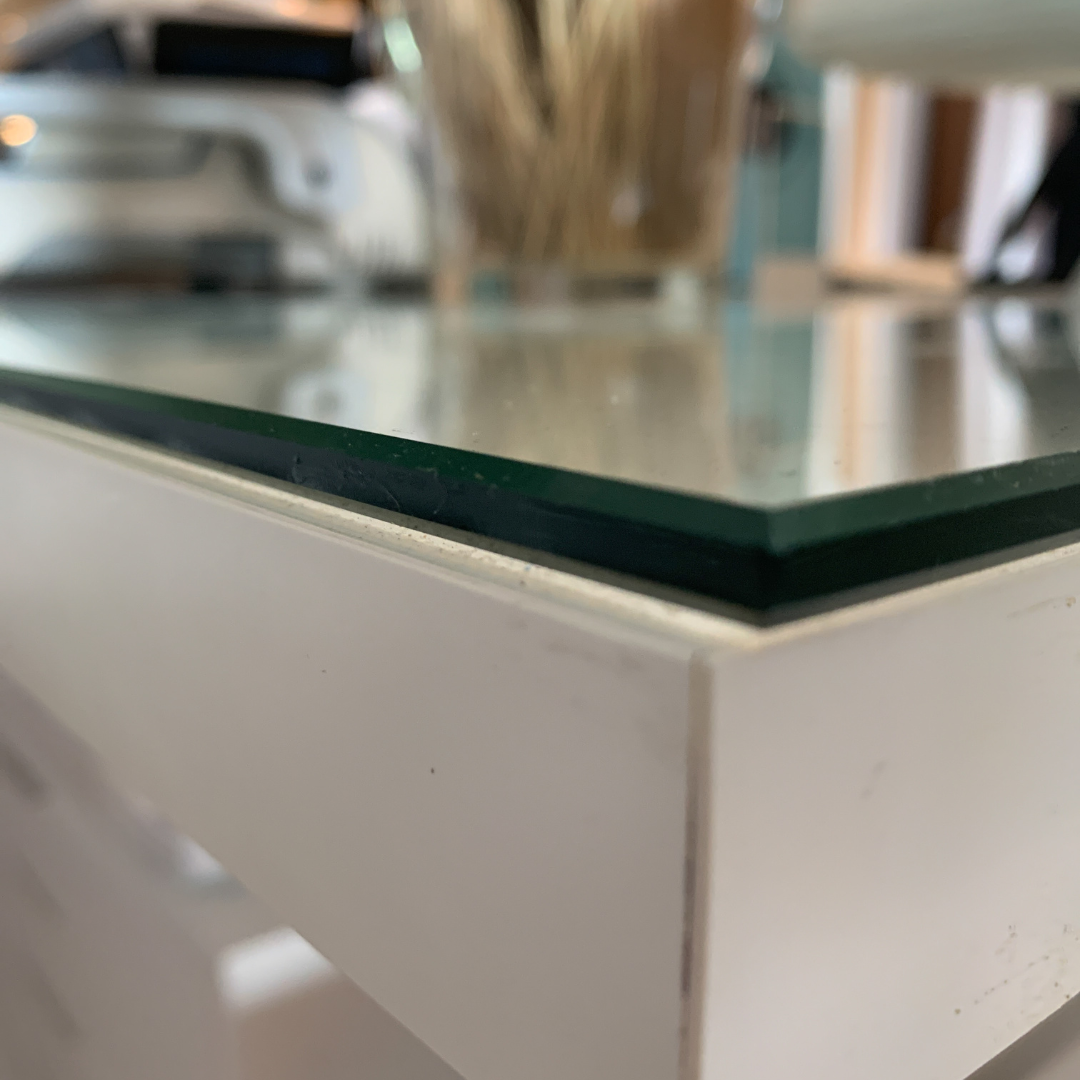
When I started cartonnage more than 20 years ago, the first item I bought was this 0.2" | 6,0 mm tempered glass plate with rounded edges to cut on. I still work on the same glass plate. You can easily clean it and it's the best investment I've ever made!
In my studio I have items from IKEA. I have four tables, consisting of two MITTBAK TRESTLES and one LAGKAPTEN table top. Under the table I have an ALEX drawer to store things that I do not need on my work table.
FINISHING
Watch the tutorial made by Amanda from the Finish Fairy how to finish your NDLPT canvas to add it to your frame